Choosing a Pallet Racking system is not just a matter of fitting more pallets into a building. The right design must match your inventory, equipment, floor conditions, and daily workflow. Warehouse expert Edward Frazelle’s work points to a useful principle: storage should support the movement of goods, not simply fill available space.
Start with the details on the warehouse floor. Measure pallet loads, including any overhang, and check ceiling height, aisle widths, and forklift turning space. Confirm the floor can support the intended loads, and ask a qualified supplier to review rack capacity and layout. Small errors matter. A beam set too high or an aisle made too narrow can slow work and create avoidable risks.
This guide’s ten tips cover load requirements, rack styles, layout, access, capacity, future growth, safety features, installation, inspections, and supplier selection. You’ll compare selective, drive-in, push-back, and pallet-flow systems, then consider how each affects access and picking speed. Don’t plan for an ideal day only. Real warehouses change, and this outline cannot replace a site-specific assessment. Use it to ask sharper questions before choosing a system.
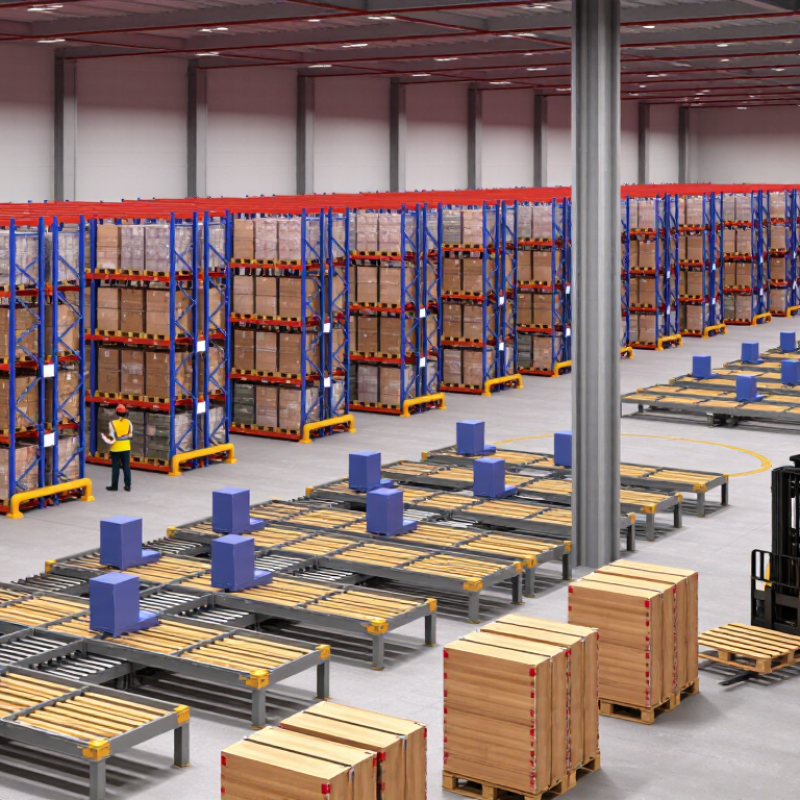
Start with Pallet Footprints: 48 × 40 in. Is Common in North America
Before comparing rack styles, measure the pallets your operation actually uses. The 48 × 40-inch footprint is common in North America, but “common” does not mean universal. Check samples from different suppliers; worn runners, repairs, and nonstandard skids can change usable dimensions. Measure the loaded pallet, not only its wood deck. Boxes or bags may extend beyond its edges. Measure carefully.
Rack dimensions should match the pallet’s orientation, load, and handling equipment. Confirm the rack opening allows for pallet width, safe clearance, and any overhang. Check rack depth against pallet depth and intended entry direction. A misplaced pallet can hide support beams or create unstable overhang. Leave room for forklift placement and visibility. Small gaps matter.
Record the heaviest expected load, including product and packaging, rather than relying on an average. Then verify beam capacity and upright configuration with a qualified rack designer or supplier. It is easy to trust a standard drawing too much. A real warehouse may have mixed pallet sizes, uneven floors, or loads that shift during travel. Document those exceptions before ordering; changing rack depth later can disrupt operations.
| 10 Pallet Racking Tips for Choosing the Right System — Start with Pallet Footprints: 48 × 40 in. Is Common in North America | |||
|---|---|---|---|
| # | Selection factor | Useful data or check | Planning implication |
| 1 | Measure pallet footprints | A 48 × 40 in. pallet is common in North America, but pallet sizes vary by industry, supplier, and load. | Measure the pallets actually in use, including any load overhang, before setting beam lengths or rack depth. |
| 2 | Confirm pallet orientation | A 48 × 40 in. pallet can be stored with either its 48 in. or 40 in. side facing the aisle, subject to the rack layout and handling equipment. | Specify the intended orientation for every bay; it affects beam length, aisle-facing dimensions, and storage capacity. |
| 3 | Calculate loaded-unit weight | Use the heaviest fully loaded pallet, not the average. Include packaging, pallet, and any uneven load distribution. | Compare the actual load with the rack supplier’s stated beam and frame capacities for the proposed configuration. |
| 4 | Check total load height | Measure from the floor to the top of the loaded pallet. Include variations in product height and pallet condition. | Use the measured height to plan beam elevations, vertical clearances, and the number of usable storage levels. |
| 5 | Match the rack to the inventory | Selective pallet rack provides direct access to each pallet; higher-density systems generally reduce direct selectivity. | Choose storage density based on how often items are accessed, inventory rotation, and whether pallets must be retrieved individually. |
| 6 | Plan for the lift truck | Truck type, load dimensions, turning radius, lift height, and operating clearances all affect the layout. | Confirm aisle requirements with the truck specifications and a qualified layout designer before fixing rack locations. |
| 7 | Verify building and floor conditions | Review clear height, columns, doors, sprinklers, lighting, floor condition, and slab information. | Have the rack design and anchorage assessed for the site’s conditions and applicable local requirements. |
| 8 | Allow for safe load placement | Pallets need adequate support and must be positioned as specified for the rack design; damaged pallets can compromise safe handling. | Follow the rack supplier’s placement instructions and establish procedures for inspecting pallets and reporting damage. |
| 9 | Include protection and accessories | Upright guards, end-of-aisle protection, row spacers, and decking may be appropriate depending on the design and operation. | Specify accessories as part of the layout review; do not assume they change the rated capacity of the rack. |
| 10 | Plan inspection and future changes | Rack capacity depends on the installed configuration. Changes to beam levels, components, or loads can affect the design. | Keep layout and load-capacity information available, inspect for damage, and have proposed changes reviewed by a qualified person. |
FAQS
No. It is common in North America, but pallet sizes vary. Check several pallets, including worn or repaired ones.
Measure the loaded pallet. Boxes or bags may extend beyond the wooden deck. Measure carefully.
Allow room for pallet width, overhang, and forklift placement. Check the turning path of the actual equipment. Small gaps matter.
Consider pallet depth, entry direction, and runner placement. A poorly positioned pallet can hide support beams or create unstable overhang.
Use the heaviest expected load, including packaging. An average weight can miss important differences. Recheck when products change.
Ask a qualified designer to account for beam spans, upright frames, connectors, floor conditions, and site loads. A drawing alone is not enough.
Check anchors, base plates, beam locks, and visible frame damage. Confirm the floor and anchors match the design assumptions.
Post load limits where workers can see them. Review the layout after changes to pallet weight, rack height, or equipment. It is easy to postpone.
Conclusion
Choosing the right Pallet Racking system starts with the loads it must hold. Measure pallet footprints carefully; 48 × 40 inches is common in North America, but actual pallet and load dimensions should guide beam spacing and rack depth. Match the rack design to inventory needs: selective racks offer direct access to each pallet, drive-in racks can increase storage density, and flow systems support first-in, first-out rotation. Consider how quickly products move and whether inventory is managed on a FIFO or LIFO basis.
Plan aisle widths around the equipment that will operate in the facility. Check truck turning radius, load length, and clearance needs before finalizing the layout. Have the rack design verified against applicable ANSI/RMI MH16.1 requirements, and maintain safe operating practices consistent with OSHA 1910.176(b). Finally, coordinate rack height and stored goods with the sprinkler system; NFPA 13 commonly uses an 18-inch clearance guideline, so confirm the applicable requirements for the building and installation.